

My Top 3 Planty Regrets — And What They Taught Me
We all have them, right?
The plant you bought because it was beautiful. The one you knew would be different this time. The pride loop you couldn’t escape. Here are my top 3 planty regrets, and maybe, just maybe, you’ll relate.
Regret #1: Buying Because It’s Beautiful Without Checking Its Needs
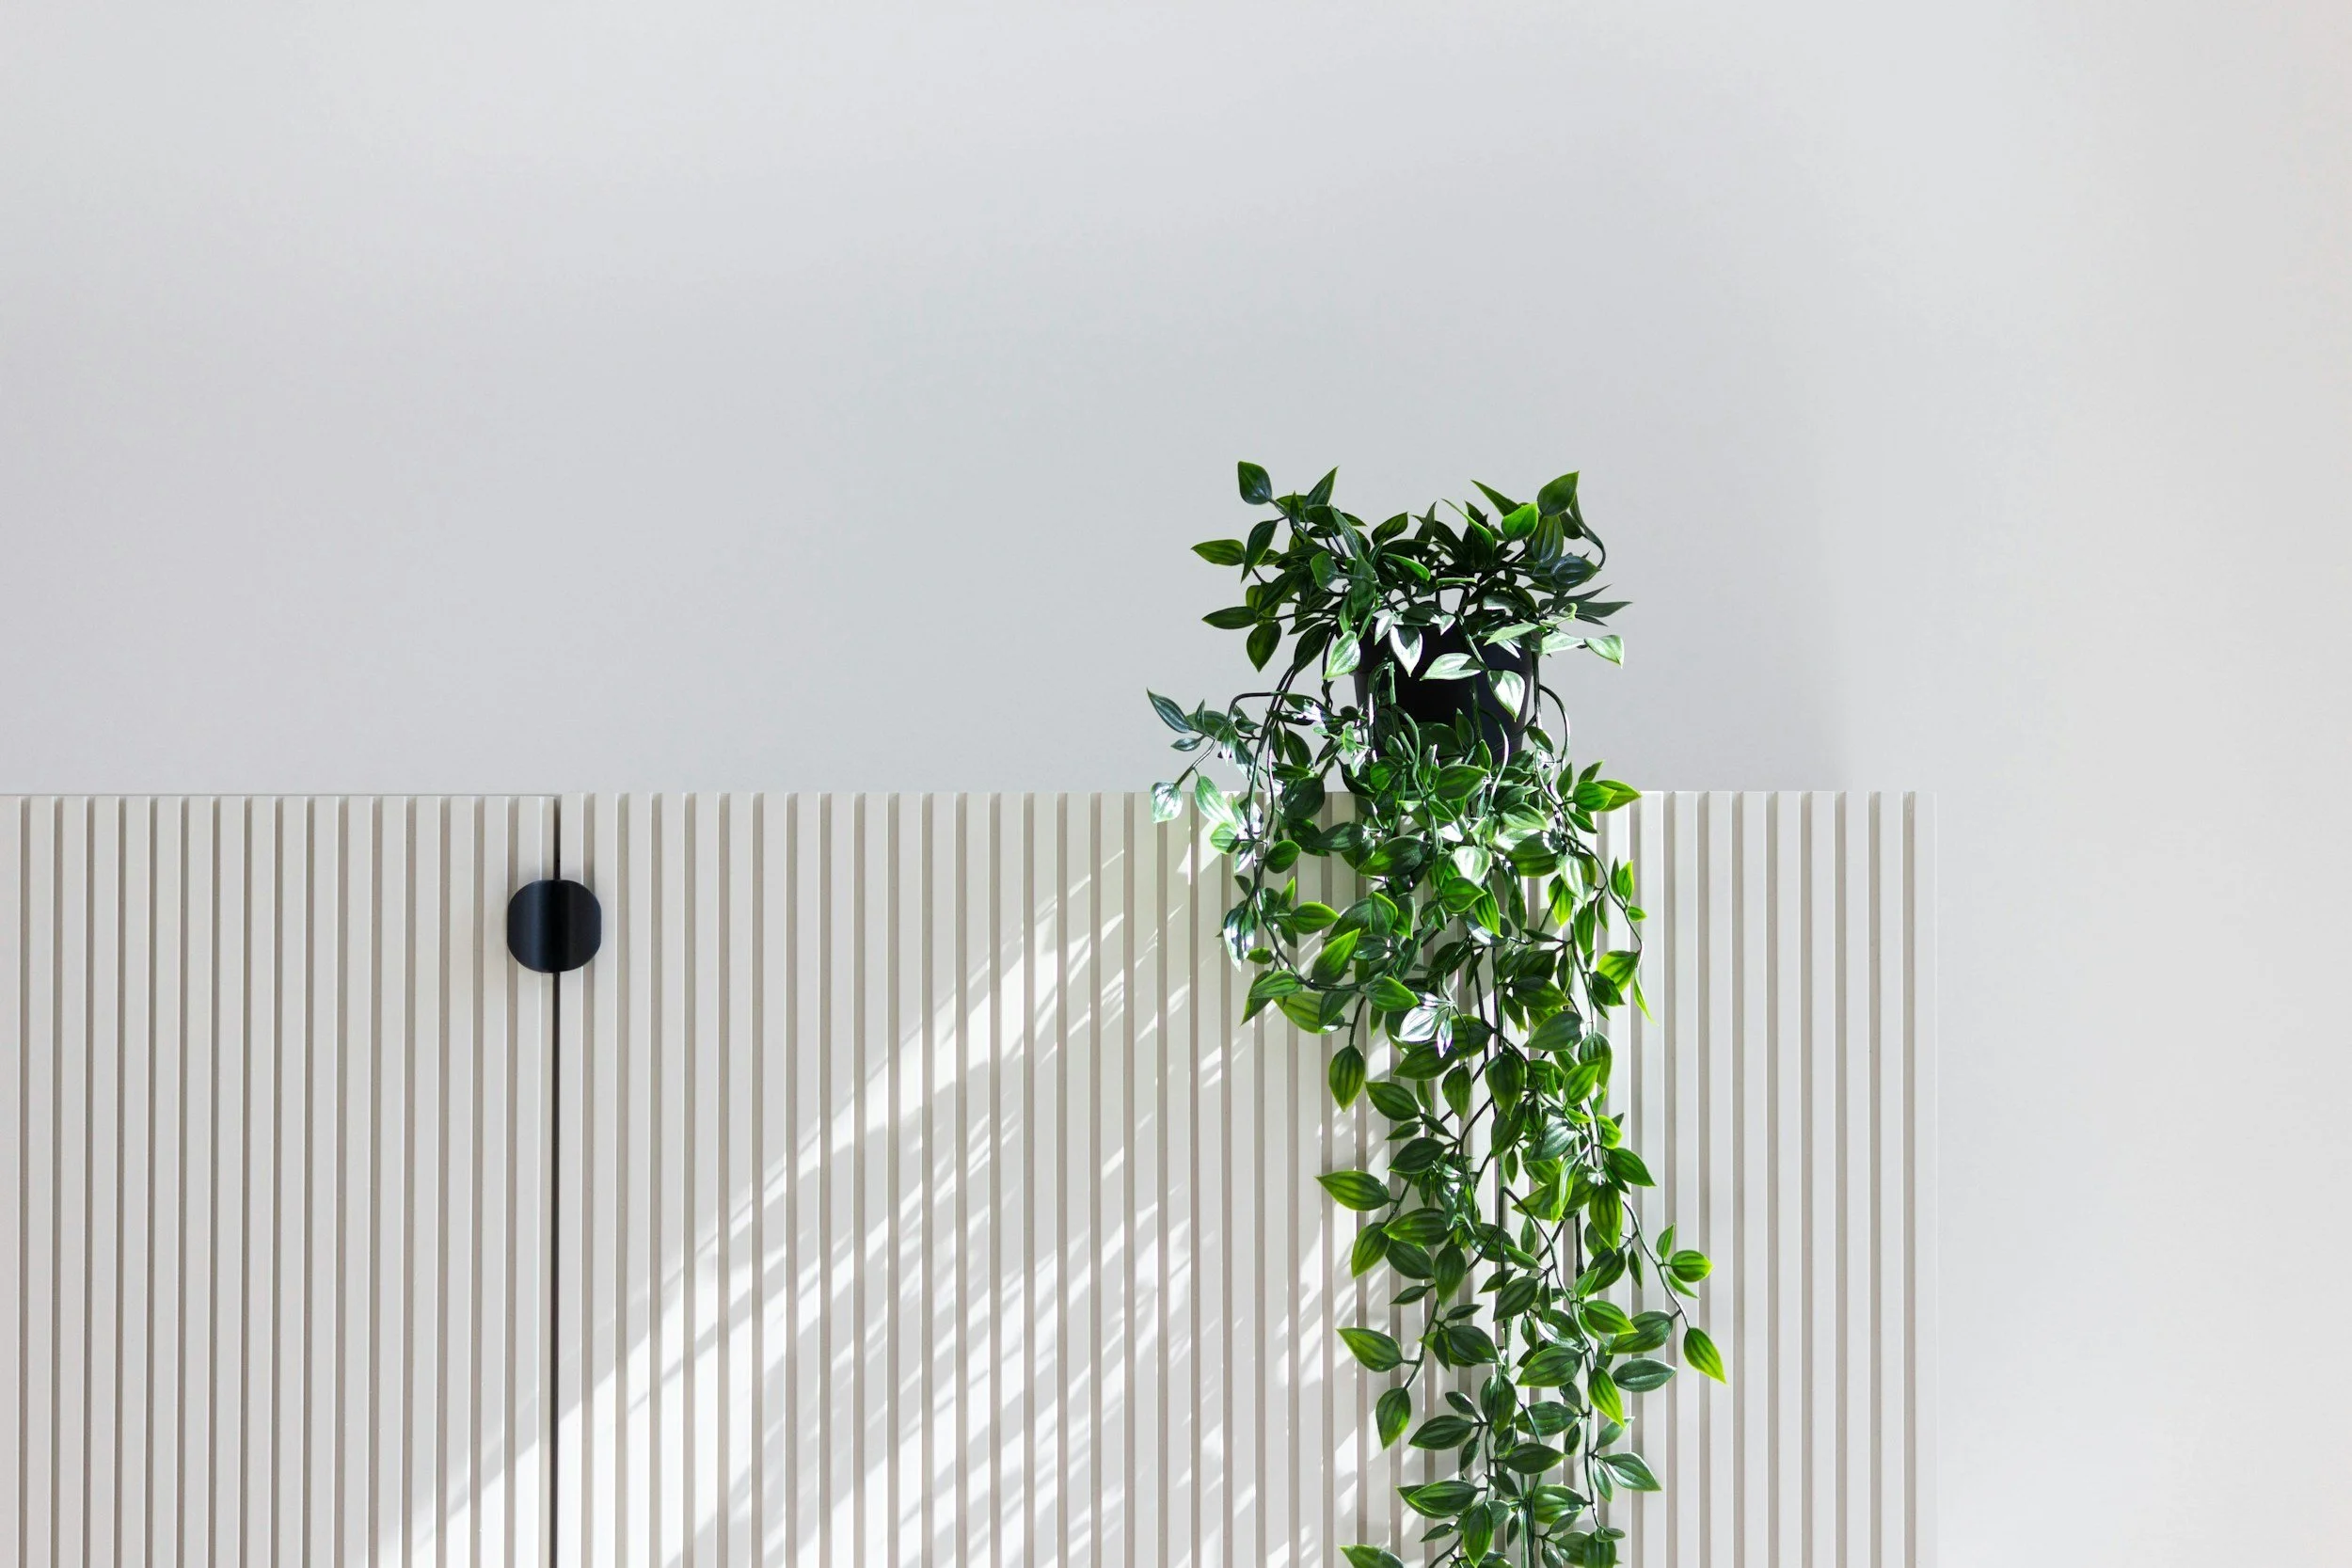
This one got me twice. First with a Monstera deliciosa (still fighting the urge on this one), and then with a fern called a Polypodium houndsfoot fern. Spoiler: these plants get huge and they need a lot of light.
When I brought the houndsfoot fern home, I proudly placed her in a prime spot, the “look at me” position, and stubbornly decided she would be fine there. Except she wasn’t. The fronds stretched out so far that everyone brushed past them, slowly damaging them, and the low light in our home just wasn’t enough to sustain new growth. A few months in, my lush, healthy fern with 6 or 7 fronds was down to 3 slightly tattered ones.
I had to face the music. I moved her outside to a shaded deck where the light is brighter, and now she’s thriving and fighting fit again.
And then there’s the Monstera. In their natural environment, they climb and spread, and you only have to see one in a garden to realise how massive they can get. I eventually had to accept that I just don’t have the space or light they need, so now, I admire them from a safe distance.
What I’ve learned from this:
A plant that gets in people’s way becomes annoying for both the plant and the people.
Always research the mature size of a plant before buying, so you know if you have the space for it.
Outdoor shade does not equal indoor low light. They are not the same thing.
Regret #2: Buying Rare Plants That Once Called a Tropical Jungle Home
It’s so easy to get caught up in FOMO when a new “rare” plant variety pops up. That word “rare” carries this weird sense of exclusivity, like I’ve got something not many people have. And yes, I fell for it too.
But here’s the thing: I don’t think most rare plants are worth the price tag. And the kicker? If you wait a year, that “must-have” plant will usually be half the price anyway.
On top of that, a lot of these rare beauties come from tropical environments, which means they crave high humidity — way more than your average lounge can provide. A friend gave me some rare propagations recently, and I’ve been growing them in a makeshift prop box (basically a mini glasshouse with moist moss in a 50L tub with a lid). They’re thriving in there, but here’s the problem: once they outgrow the box, I can’t give them the same humidity in my living room.
Honestly, I think we’ve been duped, plant friends. Exclusivity-shmivity. I’m not falling for it anymore.
Regret #3: Buying Calathea Again (and Again, and Again)
Ah, Calatheas. My toxic plant relationship. Their patterned leaves are hypnotising, and I’ve fallen for them so many times. You’d think after the first one crisped up, I’d have learned my lesson, but no. I kept convincing myself, “This time will be different.” Spoiler: it wasn’t.
There are a few low-maintenance varieties I can happily recommend:
Goeppertia insignis (Rattlesnake Calathea)
Calathea Gecko
Goeppertia orbifolia
Every other Calathea I’ve brought home has struggled, no matter what I tried. I don’t regret loving them, though. They taught me an important lesson: it’s okay to admire a plant without needing to own it.
These days, I enjoy Calatheas in shops, in friends’ homes, or while scrolling Instagram. My home isn’t their happy place, and that’s okay.
Looking back, I wouldn’t change these regrets for anything because they’ve shaped the plant parent I am today. Each “oops” moment taught me something valuable about patience, observation, and meeting plants where they are, not where I want them to be. I’ve learned to research before buying, be realistic about my space and light, and, most importantly, to admire plants I can’t keep happy without needing to bring them home.
At the end of the day, it isn’t about owning all the plants. It’s about creating a space where the ones you have can truly thrive and where you can enjoy them too. Can you relate?
Plant lots & love lots, plant friend.
Tarryn x

A Watering Mistake I Made in the Beginning of My Plant Journey – and What I Learned
Too much love in the form of water
When I first became a plant parent, I proudly brought home an aloe – and I knew absolutely nothing about what it needed. Like, zilch. I assumed it must be thirsty every three days, so I watered it… religiously. When its leaves started yellowing, I thought that meant more water. So I watered daily. My poor aloe was practically drowning, and I nearly loved it to death.
The turning point came when I discovered that most plants actually like their soil to dry out between waterings. Once I let my aloe breathe, it perked up again – and that lesson completely transformed my plant journey.
Testing the soil
The biggest game-changer? Learning to test the soil before watering. You don’t need fancy tools – your finger works perfectly – but knitting needles, chopsticks, or moisture meters can do the job too. If there’s damp residue when you pull it out, the soil is still wet, so wait before watering again. At first, I worried about poking the roots. But I’ve learned they’re tougher than we think – and a little poke won’t hurt. Once I stopped watering on a fixed “Saturday watering schedule” and instead created a rhythm of checking the soil weekly, everything clicked.
Pot size matters
This new rhythm taught me another lesson: not all pots dry at the same speed. My smaller pots needed frequent water, sometimes every few days for the smallest ones, while my larger pots could go weeks without a drink. It was such a simple but powerful shift: small pots = faster drying, big pots = slower drying.
Watering with the seasons
Testing the soil also revealed something magical – watering isn’t the same year-round. In summer, my plants generally usually want a drink every week or two. But in winter, the pace slows dramatically. Some of my plants only need water once a month! That seasonal rhythm feels special to me. Just like I naturally slow down and hibernate in winter, so do my plants. They’re resting, conserving energy, and teaching me the beauty of moving with the seasons.
Every plant mistake has been a stepping stone to learning, and I wouldn’t trade those lessons for anything. If you’ve ever over-loved your plants with water – trust me, you’re not alone.
With love (and just the right amount of water),
Tarryn x”

Plant pest spotlight: Mealybugs
While reflecting on what to journal about next, I found myself thinking about what truly impacts people - and what practical advice I can offer to help.
One thing that kept coming to mind? Those sneaky, persistent pests that can wreak havoc on even the most loved plants. Especially now as we’re heading back into the warmer seasons - bring on spring!
So today, I’m spotlighting a common culprit: mealybugs. These pests tend to appear more frequently in the warmer months, when high temperatures create ideal breeding conditions.
If you’ve ever noticed a strange white fuzz (that looks a bit like cotton wool) on your plant and wondered what it was - or what to do about it - this one's for you. Here’s a guide I hope you’ll find helpful: what mealybugs are, how to spot them, and most importantly, how to manage them.
Happy learning, and even happier growing!
Tarryn x
Overview
Mealybugs are slow-moving, unarmored scale insects that feed on plant sap. They tend to gather in clusters - so if you spot one, chances are there are more hiding nearby.
You’ll usually find them on:
Stems and petioles (where the leaf attaches to the stem)
Undersides of leaves
Moist crevices like sheaths or cataphylls
Some species even live in the roots, known as root mealybugs. These pests secrete a white, powdery wax to protect themselves while feeding - and often lay their eggs inside this waxy coating.
Lifecycle & Breeding
The mealybug life cycle moves quickly, especially in warmer conditions:
31 days at 27°C
45 days at 21°C
Each female can lay up to 10 eggs per day, with a lifetime total of up to 500 eggs. Eggs hatch in just 6 days - making early intervention essential.
Management Tips
Mealybugs are tough to control once they’ve settled in, so early detection and consistency are key. They love to hide in crevices and hard-to-reach spots, so take your time inspecting plants carefully.
Step 1: Isolate
The moment you notice them, isolate the affected plant to prevent the infestation from spreading.
Spot Treatment (for light infestations)
Use a cotton bud dipped in diluted methylated spirits or rubbing alcohol (1:1) and gently dab each mealybug. Focus on the undersides of leaves, stem joints, and crevices.
Repeat weekly until the infestation is gone.
Oils & Insecticides (for heavier infestations)
If you’re dealing with a larger outbreak, horticultural oils or insecticidal sprays may be more effective.
Tried-and-true options:
Horticultural oils: Enspray 99, Yates Conqueror Oil
Insecticides: Native Neem, Bioneem, GroSafe Groventive
💡 Tip: Add a drop of Castile soap to help the solution spread across the plant’s surface. Use a small spray bottle for precise application.
Important Precautions
Before using any horticultural oil or insecticide, always:
Dilute according to the label
Wear gloves
Use a face mask while spraying
Work in a well-ventilated area
Mix only what you need for each treatment
Follow label instructions and treatment schedule
Read the Safety Data Sheet (SDS) online
Hot Tip: Check New Plants
Before buying a new plant, inspect it closely for any signs of pests. Once home, give it a gentle bath in tepid water with a dash of Castile soap, making sure to fully drench the foliage. Wipe the leaves dry afterwards.
It’s a small step that can prevent a major headache later.
Fun Fact
Some mealybug species are intentionally farmed in Oaxaca, Mexico. Once matured, they’re harvested, dried, and ground to extract carminic acid—a vibrant crimson dye used in cosmetics, food colouring, paints, and textiles.
I’ll be thinking of this the next time I apply my red lippy 💄
Got questions? I'm always happy to help.
Send me a message any time!
How Light Actually Works Indoors
One of the biggest myths I see floating around the plant world - and one I wholeheartedly believed at the start - is that some plants “do well in low light.”
We all want it to be true, right? That you can pop a Peace Lily in a dark corner and it’ll magically thrive. Or that snake plants love a dim hallway.
But here’s what I’ve learned: low light is not no light. And it’s rarely enough.
Even “low-light tolerant” plants are just survivors - not thrivers. They’ll stretch, stall, and slowly decline if the light isn’t right. And sometimes, we mistake their slow death for a sign of hardiness.
When I started paying attention to the way light moves through my home, everything shifted. I began sitting in rooms at different times of day, noticing where the sun hit at 9am, 12pm, 4pm. I started holding my hand up to the light to see how strong the shadows were (sharper shadow = brighter light).
Suddenly, I wasn’t just placing plants for aesthetic. I was matching them to conditions they could genuinely thrive in.
One thing that made a big difference for me - learning to move my plants with the seasons.
As light shifts in winter - becoming lower, weaker, or landing in different places - spots that worked beautifully in summer can suddenly become too dim. Don’t be afraid to relocate your plants to brighter positions during the colder months. A small move can make a big difference in how well they cope when it’s cold.
In slowing down to observe light, I found myself slowing down in other areas of life too. Watching light became a daily ritual performed in quiet observation. It made me more present. More attuned to the conditions in my space. More in tune with my plants’ needs.
Now, before I bring any new plant home, I ask:
What kind of light does this plant receive in its natural environment?
Do I actually have that light in my home?
What will this spot look like in winter, when the sun hangs lower in the sky?
Understanding indoor light has probably saved more plants - and more heartache - than any other lesson I’ve learned.
If you’re unsure about light in your home - or frustrated by why a plant isn’t thriving - you’re not alone. I’ve been there. And I’d love to help.
Plant lots and love lots, plant friends.
Tarryn x